
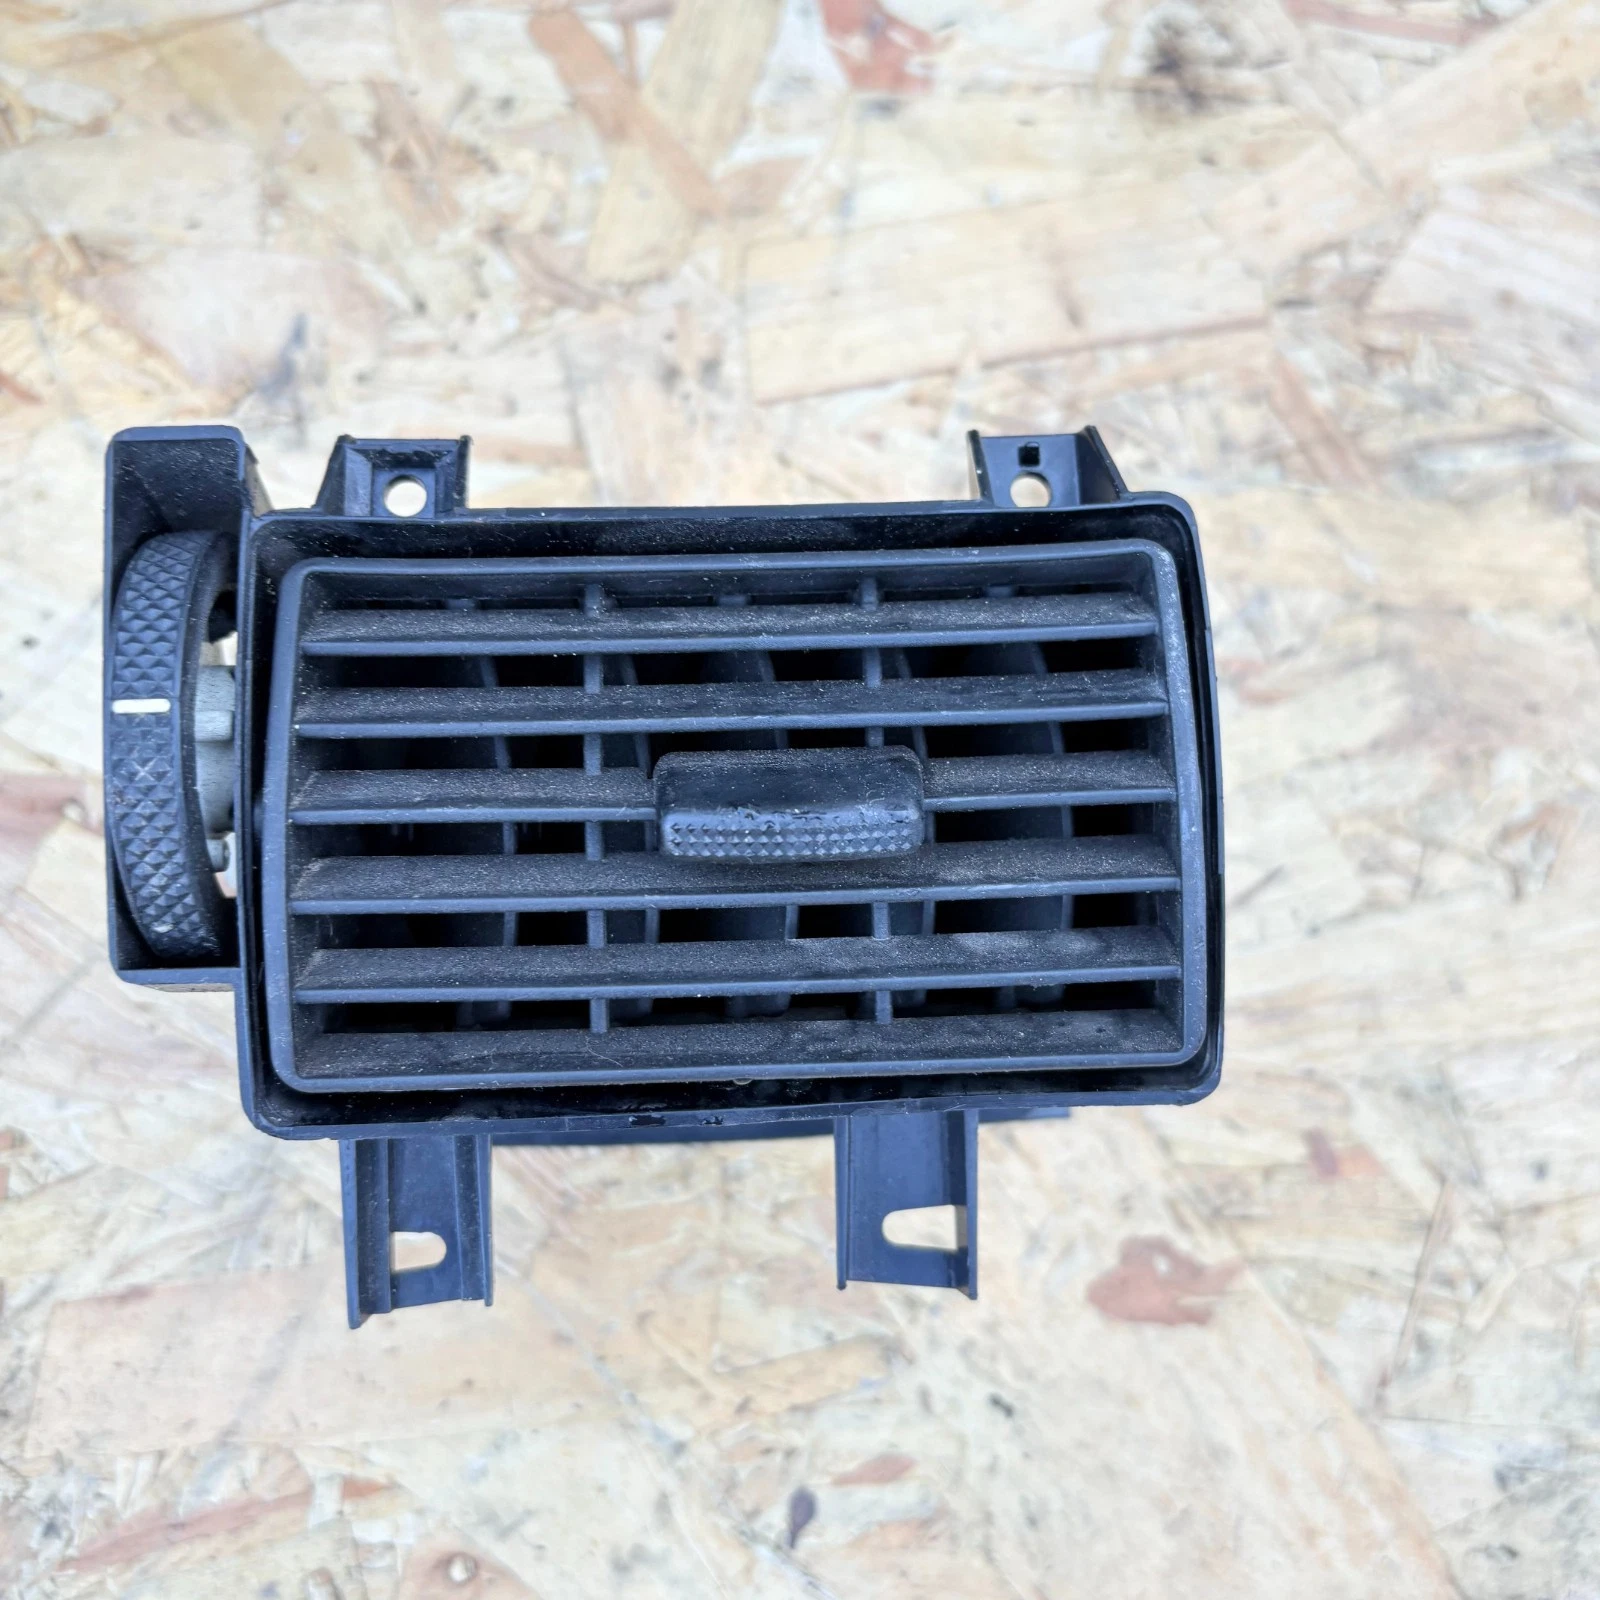
Ford Tourneo Connect 2002-2009 Centre Right Dash Air Vent 2T1H19C681AC


Ford Tourneo Connect 2002-2009 Centre Right Dash Air Vent 2T1H19C681AC
CENTRE RIGHT DASHBOARD HEATER AIR VENT & GRILLE
THEPARTPILOT
|

THEPARTPILOT
|

THEPARTPILOT
|

THEPARTPILOT
|
| Manufacturer | Ford |
| Part Type | Dashboard heater / fresh-air ventilation grille and rear air duct |
| Engineering Number | 2T1H-19C681-AC |
| Search Part Number | 2T1H19C681AC |
| Interchange Part Number | No additional interchange number is being claimed as identical without a physical comparison. |
| Superseded Part Number | No confirmed manufacturer supersession number verified for this exact AC revision. |
| Photo-Verified Donor | Ford Tourneo Connect — 2004 |
| Placement | Front interior — centre-right section of dashboard |
| Side | Centre Right |
| Material | Moulded automotive interior plastic / ABS-type construction |
| Colour | Black / dark charcoal — match against photographs |
| Electrical Connector | None — mechanically adjustable ventilation outlet |
| Condition | Previously fitted recycled vehicle component. Expect normal age-related cosmetic marks consistent with the photographs. |
| Included | Vent grille and attached moulded rear duct assembly exactly as pictured. |
| eBay Item Number | 147492007779 |
| Vehicle | Years | Evidence | Buyer Action |
|---|---|---|---|
| Ford Tourneo Connect Mk1 | 2004 |
PHOTO VERIFIED Actual component marked Tourneo 2004 and numbered 2T1H19C681AC. |
Compare your original number and physical shape. |
| Ford Tourneo Connect Mk1 | 2005 | Exact-number donor records have been identified for 2T1H19C681AC. | Part-number match required. |
| Ford Transit Connect Mk1 | 2002–2009 | Exact 2T1H19C681AC centre-right vent is catalogued for this year range. | Confirm 2T1H19C681AC and centre-right position. |
| Other Mk1 Tourneo Connect years | Outside verified donor years above | NOT CLAIMED BY YEAR WITHOUT A NUMBER MATCH. | Buy only if your existing component carries the matching number and construction. |
| Later-generation Tourneo / Transit Connect | 2013 onward | Different vehicle generation and dashboard design. | DO NOT ORDER unless the exact number and physical component are independently confirmed. |
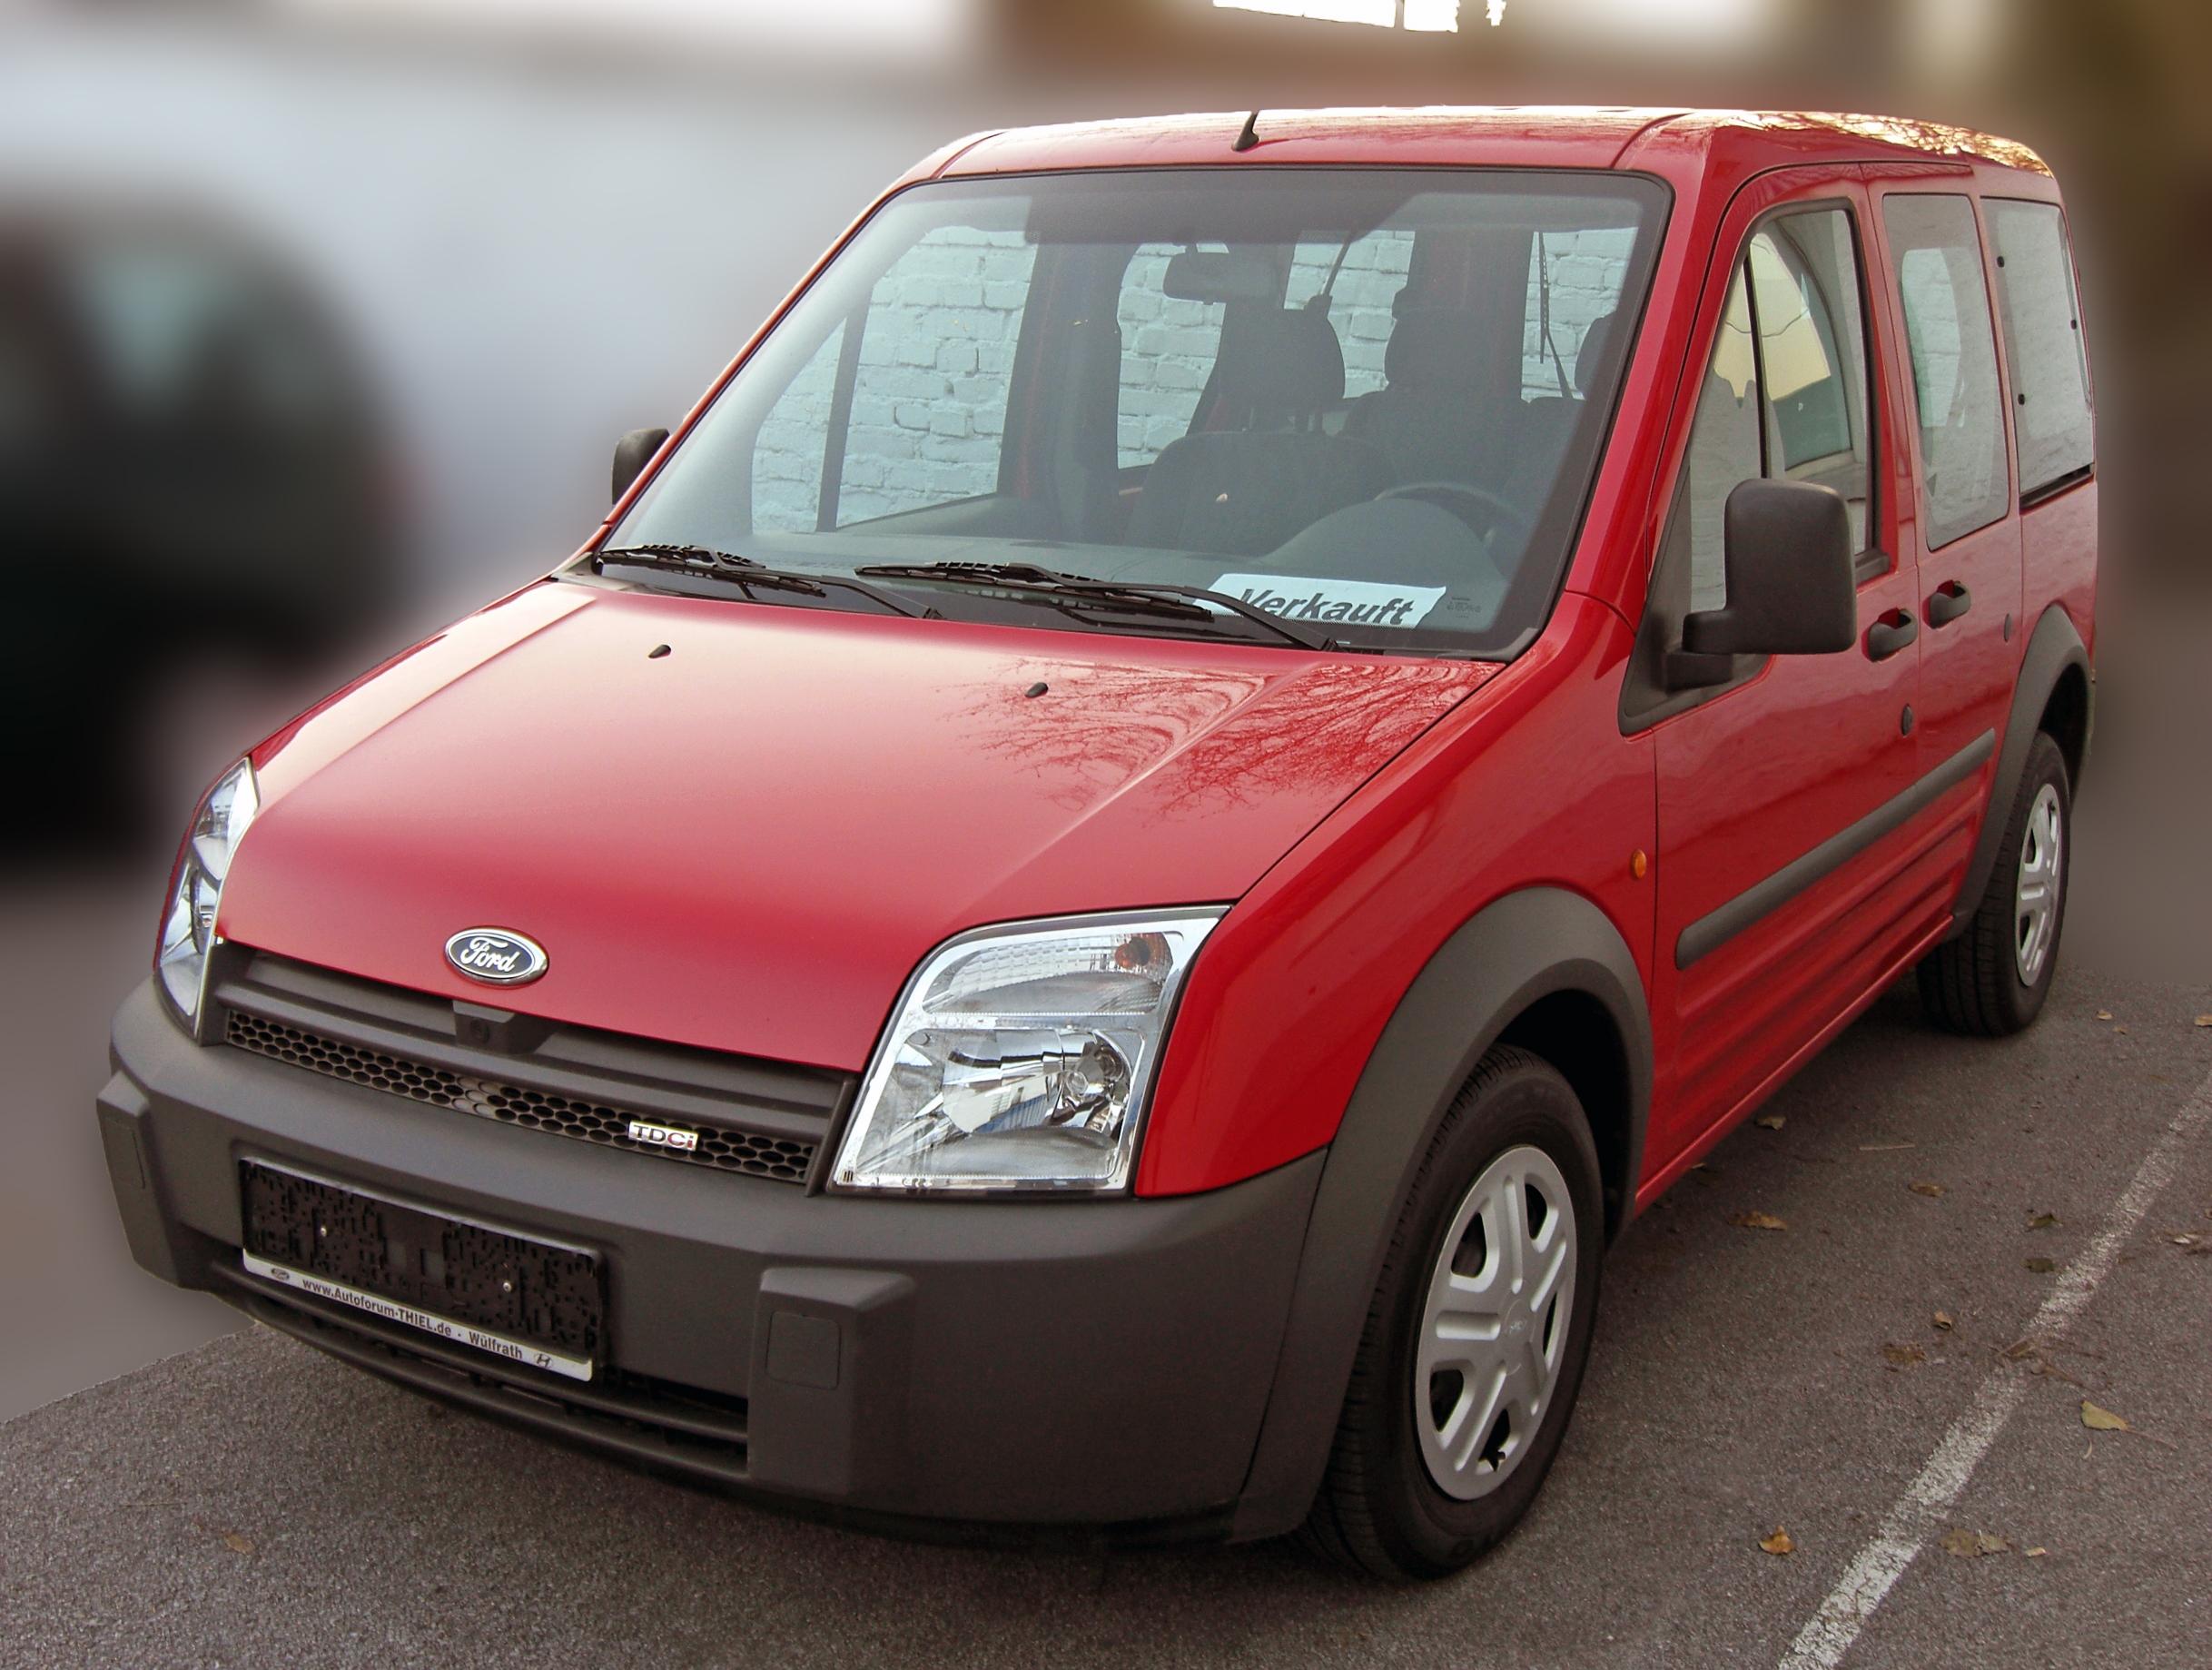
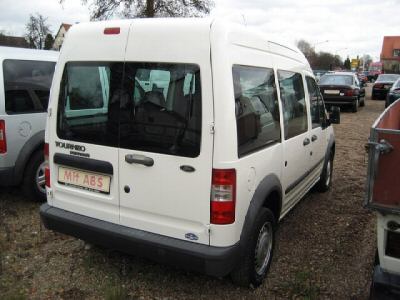
This component fits in the centre-right section of the dashboard. The visible grille faces the cabin while the moulded tunnel behind it connects to the heater / ventilation ducting.
|
OUTER LEFT NOT THIS PART |
CENTRE LEFT NOT THIS PART |
CENTRE RIGHT ✓ THIS PART 2T1H19C681AC |
OUTER RIGHT NOT THIS PART |
The heater and ventilation system moves heated, cooled or outside air through ducting behind the dashboard. This vent is the final cabin outlet.
The movable louvres allow the occupant to direct airflow toward or away from the desired area. The vent assembly also forms part of the connection between the dashboard opening and the heater air tunnel.
Although it contains no electronics, correct dimensions are important because an incorrectly shaped vent may not lock into the dashboard or seal correctly against the rear duct.
• Louvres will not stay in the selected position
• Vent adjustment becoming loose, stiff or seized
• Cracked housing or damaged retaining clips
• Vent sitting proud of the surrounding dashboard
• Rattling or vibration from the dashboard area
• Reduced airflow caused by a poorly seated rear duct
• Air being directed incorrectly into the cabin
• Cosmetic damage affecting the appearance of the dashboard
Your existing engineering number is clearly different.
You require the centre-left dashboard vent.
You require one of the outer dashboard vents.
The lower mounting feet or clip locations do not match.
Your dashboard is from a later-generation Connect.
You are buying only by registration year without checking the actual component.
STEP 2: Confirm you need the centre-right dashboard position.
STEP 3: Compare the front louvre arrangement.
STEP 4: Compare the complete moulded rear air tunnel.
STEP 5: Compare all mounting feet, tabs and retaining points.
STEP 6: Compare colour and surface finish with the actual photographs.
STEP 7: If unsure, contact us through eBay Messages before ordering and send a clear photograph of your original component.
Dashboard trim needs more precision than many buyers expect. Mounting tabs, rear duct depth, louvre geometry, surface texture and locating points all have to correspond with the dashboard.
A manufacturer-produced recycled component retains the dimensions and construction originally intended for the vehicle. Cheap reproduction parts can sometimes differ in clip position, plastic texture, colour, duct depth or fit against neighbouring trim.
Choosing a serviceable recycled component can also offer a substantial cost saving compared with purchasing the equivalent part new.
Park securely, switch off the ignition and remove the key.
2 — Protect surrounding trim
Use a clean cloth or low-tack protection around the fascia.
3 — Confirm replacement orientation
Compare this replacement component with the centre-right vent before dismantling further.
4 — Release surrounding trim where required
Use plastic trim tools to gently disengage neighbouring fascia pieces if they restrict access.
5 — Locate fixings and retaining clips
Some dashboard specifications may use clips alone while others may have additional trim fasteners.
6 — Remove the old vent
Support the housing and carefully release the retaining points. Avoid levering directly against the louvres.
7 — Disconnect the rear air tunnel
Withdraw the assembly enough to release the duct connection without cracking surrounding plastic.
8 — Compare old and replacement parts
Check the number, mounting points, rear tunnel depth, width and grille orientation side-by-side.
9 — Install replacement
Correctly locate the rear duct first, then align the mounting points and clips.
10 — Test operation
Run the vehicle blower and confirm airflow is reaching the vent. Check all louvres move freely and listen for rattles or air leakage.
🔧 Torx driver set
🔧 Cross-head screwdriver set
🔧 Small 1/4-inch socket set if required
🔦 Workshop inspection light
🧤 Protective gloves
🧽 Soft protective cloth / trim tape
| Hourly Rate | 30 Minutes | 45 Minutes | 60 Minutes |
|---|---|---|---|
| £50/hr | £25.00 | £37.50 | £50.00 |
| £60/hr | £30.00 | £45.00 | £60.00 |
| £75/hr | £37.50 | £56.25 | £75.00 |
| £90/hr | £45.00 | £67.50 | £90.00 |
| £100/hr | £50.00 | £75.00 | £100.00 |
| £120/hr | £60.00 | £90.00 | £120.00 |
| £150/hr | £75.00 | £112.50 | £150.00 |
ThePartPilot carries more than 25,000 vehicle components in stock and on the shelf across a wide range of vehicle systems.

UK delivery options and charges are displayed through the eBay listing and checkout.
International delivery may be available through eBay's eligible international shipping programme for supported countries and qualifying items.
We provide detailed photographs, engineering numbers and compatibility information specifically to reduce incorrect orders.
Please perform the part-number and physical comparison before purchase rather than ordering by vehicle year alone.
If you are uncertain, contact ThePartPilot through eBay Messages before ordering. We can help compare the vehicle information and photographs you provide.
Choosing a serviceable recycled automotive component helps extend the useful life of an existing part rather than discarding it unnecessarily.
Reuse can reduce demand for newly manufactured replacements, additional raw materials and packaging while helping owners keep vehicles economically repairable. 🌍 🚗 ♻️
Every order also supports an independent automotive parts business and the work involved in identifying, checking, storing, picking, packing and dispatching thousands of individual parts. Thank you for supporting ThePartPilot.
Vehicle parts can contain fragile clips, mounting tabs and trim surfaces, so careful packaging is important during transport.

WhatsApp QR for Fitment Help / Appointment Enquiries
Scan the QR code to contact ThePartPilot on WhatsApp for fitment checks, appointments or fitting service availability.For faster fitment help, send your vehicle registration, VIN if available, and clear photos of your existing part, connector and part number.