
RENAULT TWINGO II CN0 2007-2014 GEARSTICK SURROUND 12V SOCKET 8200455794


RENAULT TWINGO II CN0 2007-2014 GEARSTICK SURROUND 12V SOCKET 8200455794
Renault Interior Component • Part No. 8200455794
Renault Twingo II / MK2 Gearstick Surround Trim with 12V Socket Area
Actual Part – Match Before Ordering

What This Component Does
This component forms the moulded centre-tunnel trim surrounding the gear-lever area inside the Renault Twingo II. It finishes and protects the area around the gearshift assembly, provides the correct moulded opening and retaining geometry around the lever/gaiter area, incorporates the forward storage/cup recess geometry and provides the mounting position for the vehicle's 12V accessory socket.
When the socket hardware is correctly connected to the vehicle wiring, the 12V outlet provides accessory power for compatible equipment. The trim panel itself is a structural interior finishing and mounting component; it does not electronically operate the engine or gearbox.
Exact Vehicle-Generation Reference

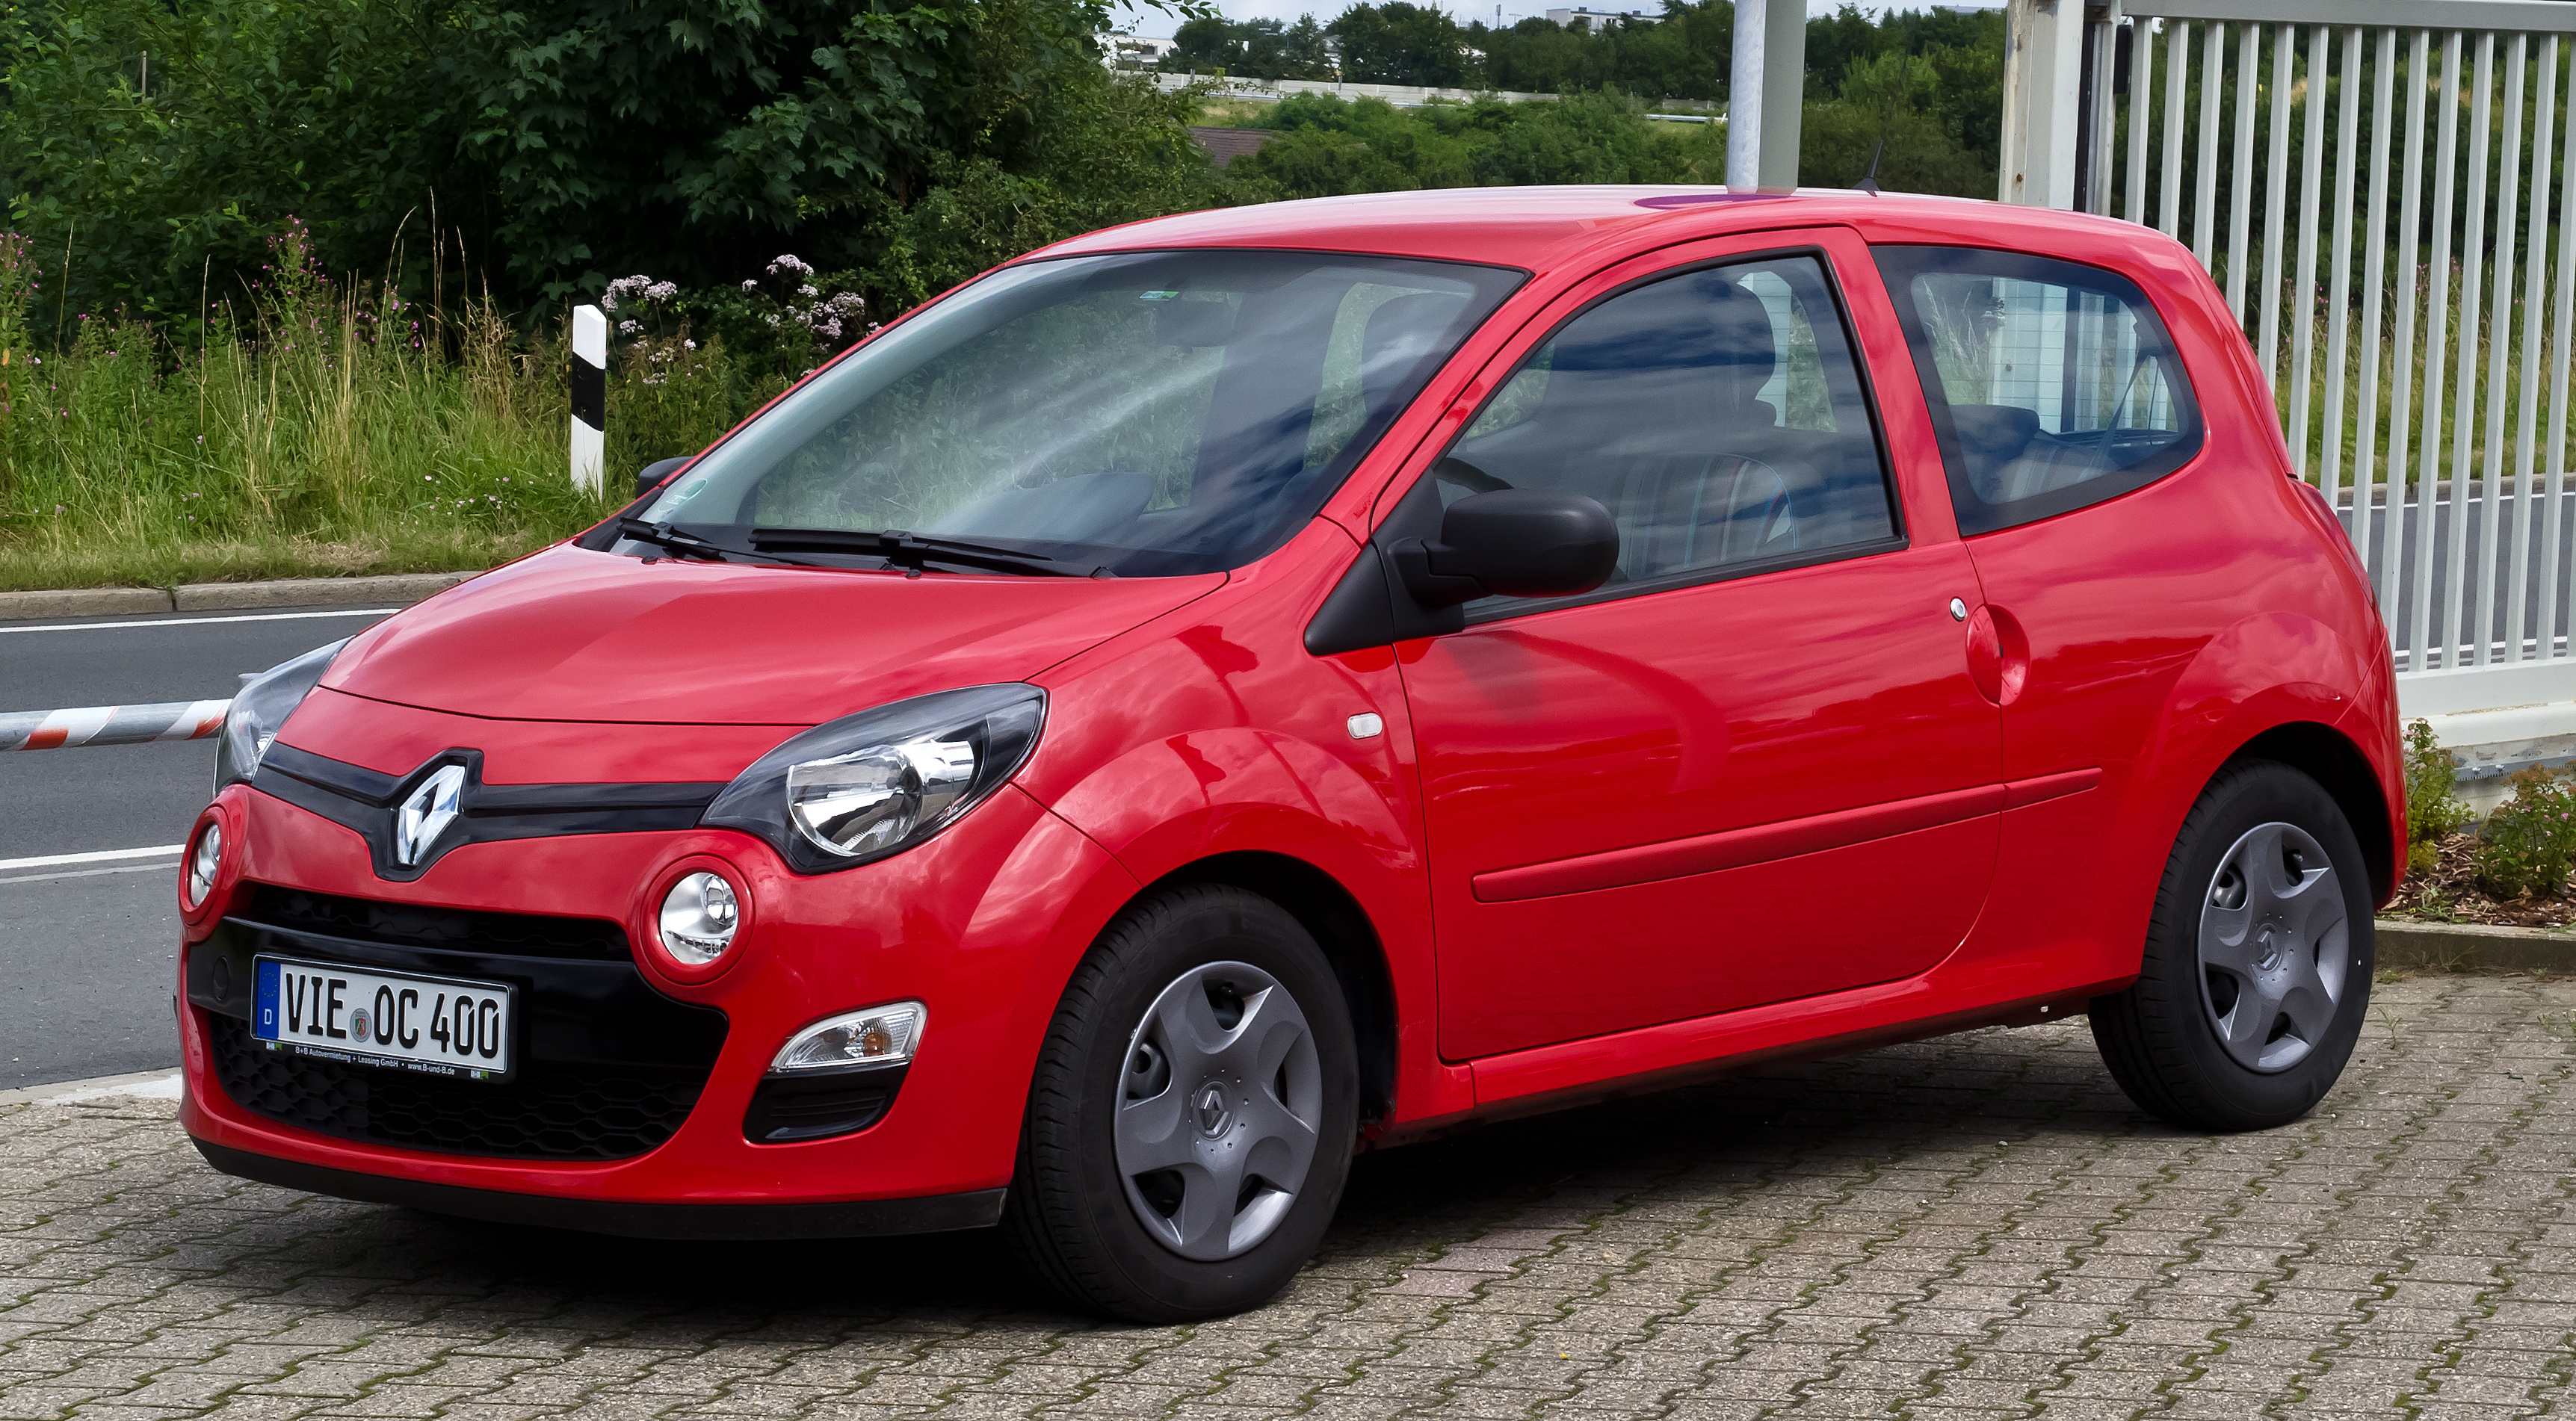
Verified Compatibility Guide
| Years | Vehicle | Chassis | Body | Fitment Rule |
|---|---|---|---|---|
| 2007–2014 07–14 |
Renault Twingo II / MK2 | CN0_ | Hatchback | Match 8200455794 plus actual console/socket geometry |
Engine References Visible in the Source Compatibility Data
| Visible Years | Engine / Fuel | Engine Code | Output / Capacity |
|---|---|---|---|
| 2010–2014 | 1.5 dCi Diesel | K9K 740 | 1461cc • 47kW • 64HP |
| 2010–2014 | 1.2 Petrol | D7F 800 | 1149cc • 43kW • 58HP |
| 2010–2014 | 1.2 16V Petrol | D4F 764 / D4F 770 / D4F 772 | 1149cc • 55kW • 75HP |
| 2010–2014 | 1.2 Turbo Petrol | D4F 780 / D4F 782 | 1149cc • 74kW • 100HP |
The source listing states a 2007–2014 overall fitment bracket and 32 compatible vehicles. The engine-level rows currently exposed in the live compatibility view available to us show 2010–2014. For an earlier car, do not infer engine coverage merely from the table above: verify chassis, part number, socket arrangement and photographs.
Will Not Fit / Exclusion List
- Renault Twingo I / first-generation console layouts.
- Renault Twingo III / MK3 or other later-generation centre consoles.
- Any vehicle carrying a different centre-console part number or different moulding geometry.
- Any console with incompatible mounting clips, gear-lever aperture, socket location or connector arrangement.
- A 2014 vehicle solely on the basis of registration year without confirming the Twingo II / CN0_ platform.
Similar-looking interior panels are not automatically interchangeable. Small changes to clip positions, storage mouldings, gear-lever openings, socket carriers and electrical provisions can make an apparently similar panel unsuitable.
Technical Mounting Reference
Fitting Guide
The following is a practical planning guide rather than a substitute for the vehicle manufacturer's workshop procedure. Interior trim becomes brittle with age, so work progressively and never force a clip that has not released.
- Park safely on level ground, apply the handbrake, switch the ignition off and remove the key.
- If the 12V socket wiring will be disconnected, isolate electrical power in accordance with the correct workshop procedure and preserve any vehicle security/radio settings where applicable.
- Photograph the existing console, clip positions and electrical-connector routing before dismantling.
- Remove the gear knob only if its presence prevents the surround being lifted. Use the correct vehicle-specific removal method and keep your face/body clear because some press-fit knobs can release suddenly.
- Use plastic trim tools to release the gaiter/surround and console retaining points progressively. Avoid metal leverage against visible soft-touch surfaces.
- Lift the console only far enough to access the 12V socket connection without stretching the wiring.
- Release the socket connector by its locking tab and connector body — never pull directly on the wires.
- Before installation, place both components side by side and compare 8200455794, every tab, clip, aperture, socket carrier, colour and texture.
- Transfer any retained components only where necessary and only if compatible with the replacement moulding.
- Reconnect the socket, position the trim squarely and engage each retaining point without excessive force.
- Refit the gaiter/gear knob as applicable and reconnect the battery if it was isolated.
- With the engine initially off, confirm unrestricted gear-lever movement through all positions, then verify operation of the 12V outlet with suitable test equipment.
Suggested Tools
- Plastic interior trim-removal tools
- Small trim-clip tool or non-marring pick
- Inspection torch
- Protective gloves
- 10mm spanner/socket if battery-terminal isolation is required on your vehicle
- Optional multimeter or 12V accessory-socket tester
Static Garage Labour Cost Guide
Illustration based on a 0.75-hour planning allowance. Actual workshop charges vary.
| Estimated Time | £40/hr | £60/hr | £80/hr | £100/hr |
|---|---|---|---|---|
| 0.75 hr / approx. 45 min | £30 | £45 | £60 | £75 |
Labour illustration only. It does not include replacement parts, additional diagnostics, taxes/fees charged by a third-party garage, repair of pre-existing damage or broken fasteners.
25,000+ Parts Ready on the Shelves
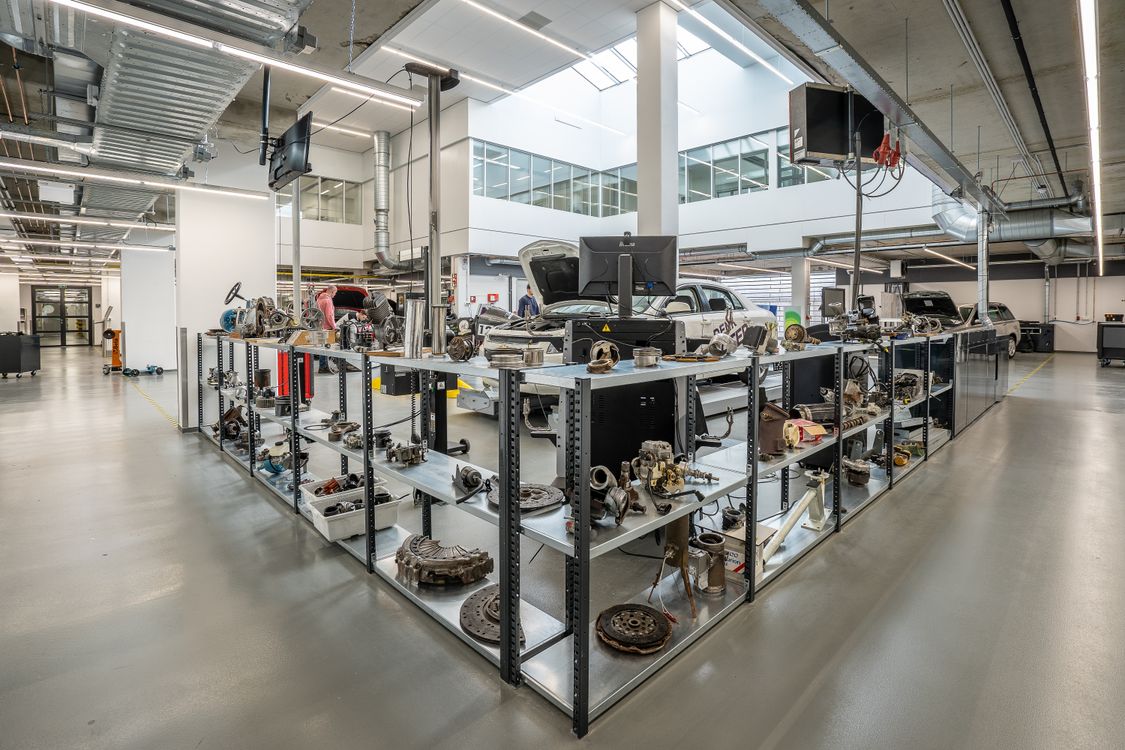
With over 25,000 parts in stock on the shelves, THEPARTPILOT is built around supplying correctly identified automotive components quickly and professionally. Exact part-number matching reduces wasted workshop time, repeat dismantling and avoidable returns.
Workshop Mindset
Shipping & Secure Dispatch

UK orders are dispatched using the delivery service selected for the listing. International orders may be available through the eBay Global Shipping Programme where the item and destination are eligible. Coverage can include Europe, USA, Australia, Canada, the Middle East and many other international markets. Eligibility and the final postage/import cost are determined at eBay checkout.
VAT Margin Scheme
Returns & Buyer Fitment Responsibility
Please verify compatibility carefully before ordering. Compare the supplied high-resolution photographs, exact part number 8200455794, mounting locations, apertures, socket layout and your existing component rather than relying solely on an automated vehicle-specifics dropdown.
How to Find Us / Customer Support
For all listing questions, part-number checks and fitting enquiries, please use eBay Messages. Our registered business contact details and physical business information are displayed by eBay in the appropriate Business Seller Information / Business Details area.
WhatsApp QR for Fitment Help / Appointment Enquiries
Scan the QR code to contact ThePartPilot on WhatsApp for fitment checks, appointments or fitting service availability.For faster fitment help, send your vehicle registration, VIN if available, and clear photos of your existing part, connector and part number.